Tasmota BME280 Environmental Sensor Station
Build a WiFi environmental monitoring station with BME280 sensor measuring temperature, humidity, and barometric pressure. Uses I2C on any ESP8266/ESP32 with Tasmota. Under $6 total cost.
Tasmota BME280 Environmental Sensor Station
Build an ultra-cheap WiFi environmental sensor station that measures temperature, humidity, and barometric pressure using a BME280 sensor connected via I2C to an ESP8266 or ESP32 running Tasmota.
Why This Project
- Three sensors in one — temperature, humidity, and pressure from a single chip
- Ultra-cheap — under $6 total with an ESP-01S
- High accuracy — ±1°C, ±3% RH, ±1 hPa
- I2C interface — only 4 wires needed
- Auto-detected by Tasmota — no custom compilation required
Components Required
| Component | Purpose | Est. Cost |
|---|---|---|
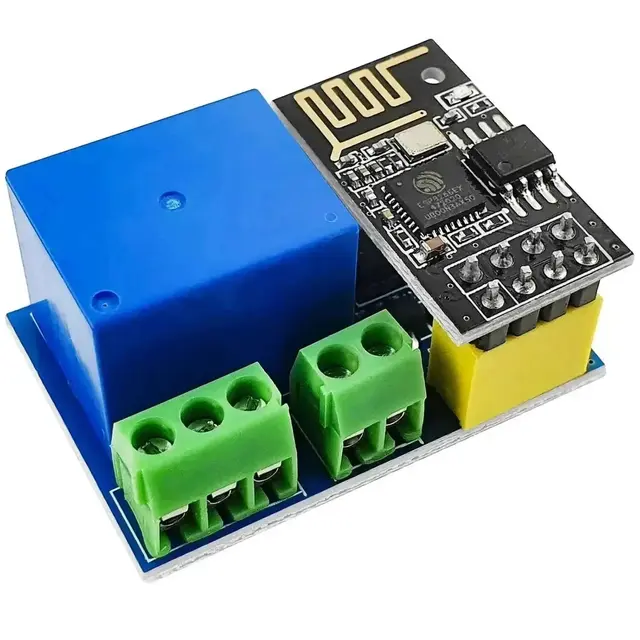
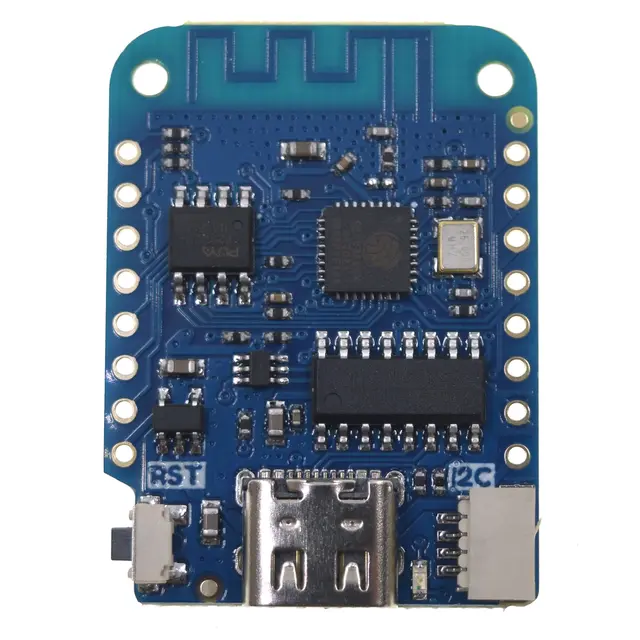
| ESP8266 board (ESP-01S or Wemos D1 Mini) | WiFi microcontroller | $2-4 |
| GY-BME280 breakout board | Temp + humidity + pressure sensor | $2-3 |
| Jumper wires (female-female) | I2C connections | $0.50 |
Total cost: ~$5.50
Wiring (I2C)
BME280           ESP8266 (D1 Mini)      ESP-01S
──────           ─────────────────      ───────
VCC          →   3.3V                   3.3V
GND          →   GND                    GND
SDA          →   GPIO4 (D2)            GPIO1 (TX)
SCL          →   GPIO5 (D1)            GPIO3 (RX)
Warning: Connect VCC to 3.3V only, not 5V. Using 5V causes self-heating and inaccurate temperature readings.
Tasmota Setup
- Flash
tasmota-sensors.bin(ESP8266) ortasmota32(ESP32) - Go to Configuration → Configure Module
- Assign GPIOs to I2C SDA and I2C SCL
- Reboot — BME280 is auto-detected at address 0x76
- Dashboard shows live temperature, humidity, and pressure
Advanced Configuration
# Calibrate temperature offset
TempOffset -1.5

# Set telemetry period (seconds)
TelePeriod 60

# Use two BME280 sensors (change SDO pin to VCC for 0x77)
# First sensor at 0x76, second at 0x77
ESP-01S Build (Ultra-Compact)
The ESP-01S is the cheapest option at ~$1.50. Since it only has GPIO0, GPIO1 (TX), GPIO2, and GPIO3 (RX), you must use TX/RX as I2C pins:
- SDA → GPIO1 (TX pin)
- SCL → GPIO3 (RX pin)
Flash using a USB-to-ESP-01 adapter (CP2104 recommended). After flashing, the serial pins are repurposed for I2C.
Detailed guide: cgomesu.com — DIY Tasmota BME280
Home Assistant Integration
Auto-discovered via MQTT. Creates three sensor entities:
sensor.tasmota_bme280_temperaturesensor.tasmota_bme280_humiditysensor.tasmota_bme280_pressure
Compatible Boards
- ESP-01S — cheapest, most compact ($1.50)
- Wemos D1 Mini — best for prototyping
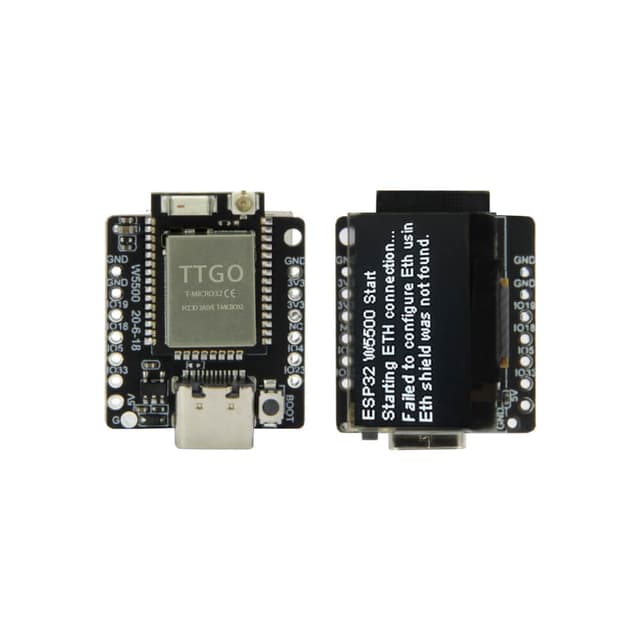
- NodeMCU — most GPIOs available
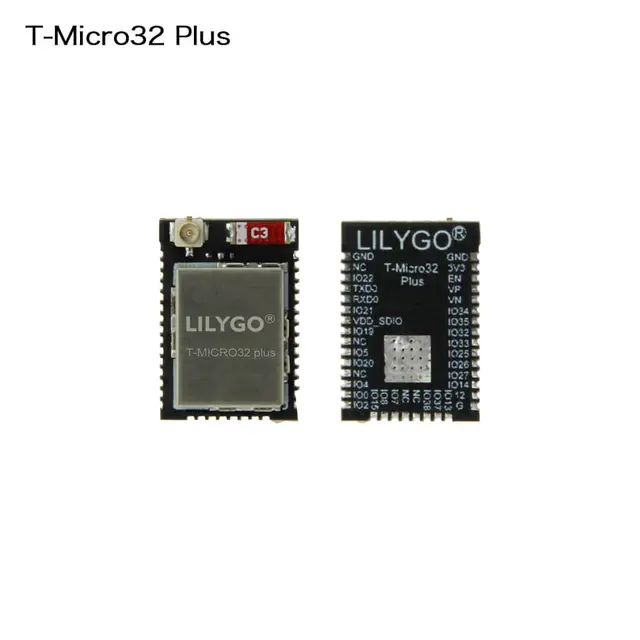
- Any ESP32 board — more memory for additional sensors