LILYGO T-Lion
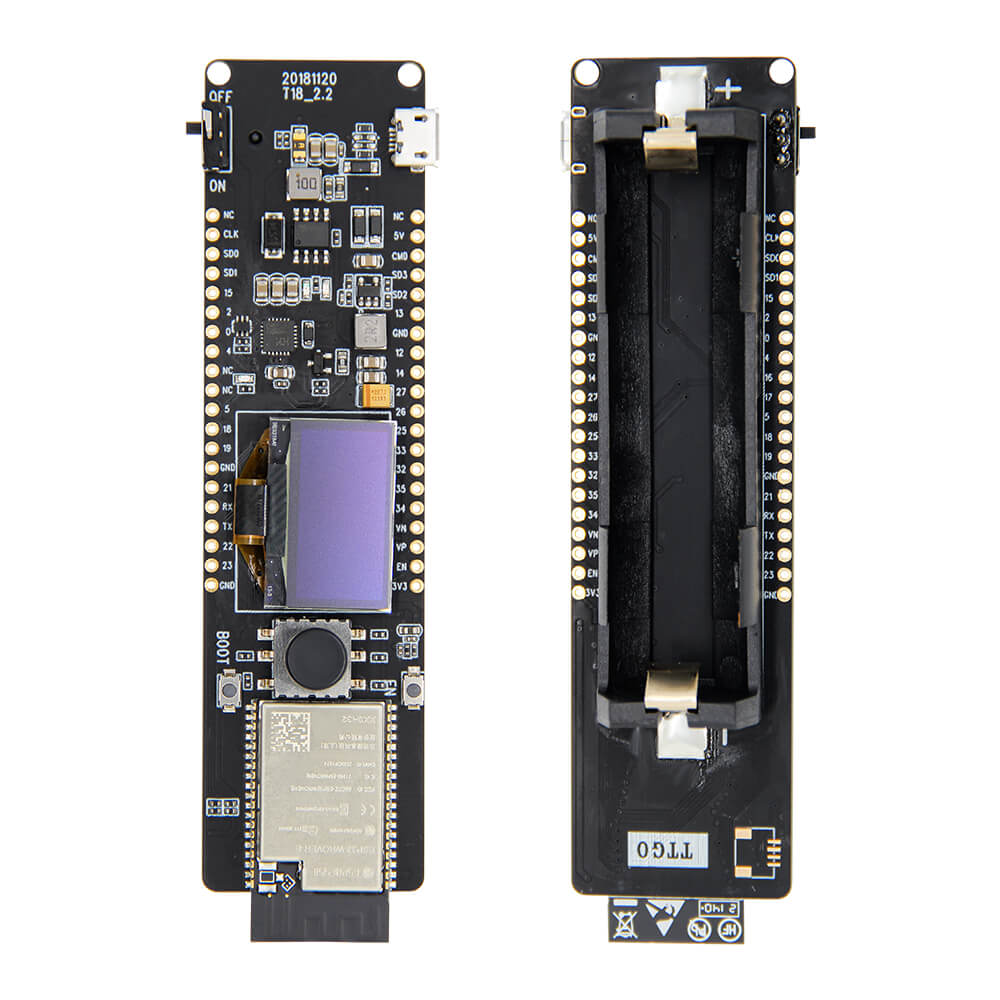
ESP32 development board with a 0.96-inch OLED display, 5-way directional joystick (OK/UP/DOWN/LEFT/RIGHT), 8MB PSRAM, WiFi, BLE 4.2, and 18650 battery holder.
$11.23
Hardware Specifications
Connectivity
Components
Dual-core Xtensa LX6, 520KB SRAM, 8MB PSRAM, WiFi 802.11 b/g/n, BLE 4.2
0.96-inch OLED display, I2C interface
USB-to-UART bridge for programming
Resources
Where to Buy
Overview
The LILYGO T-Lion is a feature-rich ESP32 development board that stands out with its integrated 5-way directional joystick (OK, UP, DOWN, LEFT, RIGHT), 0.96-inch SSD1306 OLED display, and 18650 battery holder. This combination makes it ideal for handheld menu-driven applications, portable IoT devices, and game controller prototypes.
Wireless connectivity includes WiFi 802.11 b/g/n at up to 150Mbps with 22dBm transmit power and a 300m range, plus Bluetooth 4.2 Classic and BLE. The ESP32 is backed by 520KB SRAM and 8MB PSRAM for memory-intensive applications. Power consumption is well-managed with active current of approximately 60mA and a deep sleep current of 470uA. The board operates on an 18650 cell with 1A charging current and includes a battery power switch and red power indicator LED.
Firmware Compatibility
The T-Lion runs FreeRTOS and is compatible with Arduino IDE and ESP-IDF. The SSD1306 OLED library and the directional button GPIO pins are documented in the GitHub repository. Interface protocols supported include UART, SPI, SDIO, I2C, LED PWM, TV PWM, I2S, IR, GPIO, ADC, and DAC.
Flashing Guide
- Connect via USB cable (CH9102 bridge).
- Install CH9102 drivers if required.
- Install ESP32 Arduino core via Boards Manager.
- Select "ESP32 Dev Module" in Arduino IDE.
- Upload your sketch; reset the board after flashing.
Related Products
ESP32This product page may contain errors. If you find any, please report them.