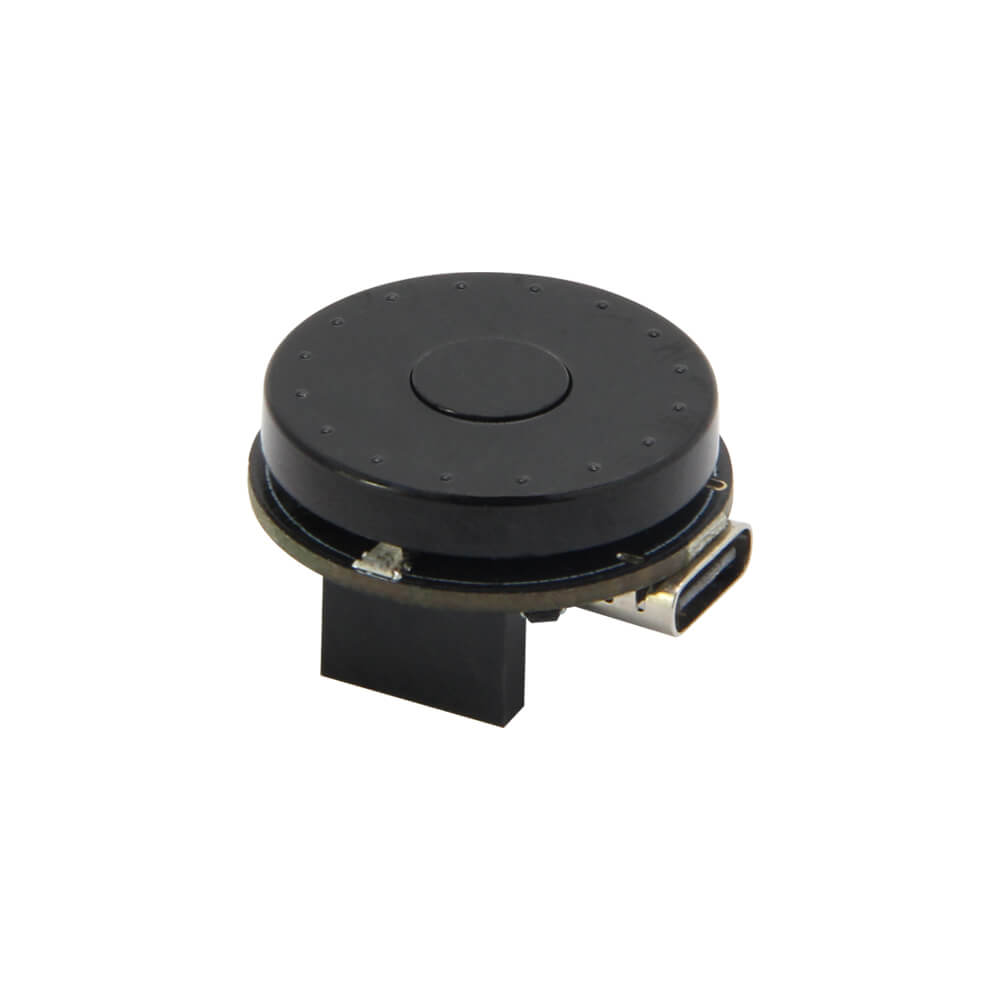
LILYGO T-Encoder ESP32
ESP32-PICO-V3-02 development board with a rotary encoder, WS2812 RGB LED, 8 MB flash, and 2 MB PSRAM, designed for control interfaces, menu navigation, and wireless IoT controllers.
$10.50
Hardware Specifications
Connectivity
Components
SiP ESP32 with 8 MB flash and 2 MB PSRAM in a compact 7x7 mm LGA package
Addressable RGB LED on IO25 for status indication and effects
Resources
Where to Buy
Overview
The LILYGO T-Encoder ESP32 combines the compact ESP32-PICO-V3-02 system-in-package with a rotary encoder and a WS2812 addressable RGB LED to create a versatile wireless control interface. The ESP32-PICO-V3-02 integrates 8 MB flash and 2 MB PSRAM directly into the package, maximizing memory in a minimal footprint.
The rotary encoder enables smooth, tactile menu navigation and parameter adjustment for display-based HMI applications, volume controls, and motor speed controllers. The WS2812 RGB LED provides programmable visual feedback and can display any color for status indication.
Since the board does not include an onboard USB-to-serial chip, a T-U2T downloader accessory is required for programming. Available in male PIN (H537) and female PIN (H535) header variants to suit different assembly preferences. Supported interfaces include UART, SPI, and I2C.
Firmware Compatibility
The T-Encoder works with the Arduino IDE using the ESP32 core. The ESP32Encoder library handles quadrature decoding, and Adafruit NeoPixel or FastLED drives the WS2812 LED. LILYGO's T-Encoder GitHub repository provides example code. ESP-IDF is also supported. Because there is no native USB, the CH9102-based T-U2T is required for all flashing operations.
Flashing Guide
- Obtain and connect the T-U2T USB-to-serial downloader to the programming header.
- Install CH9102 USB drivers on your computer.
- In Arduino IDE, select "ESP32 Dev Module," enable PSRAM, and set Flash Size to 8 MB.
- Select the correct COM port.
- Open an example from the T-Encoder GitHub repository.
- Click Upload.
Related Products
ESP32This product page may contain errors. If you find any, please report them.