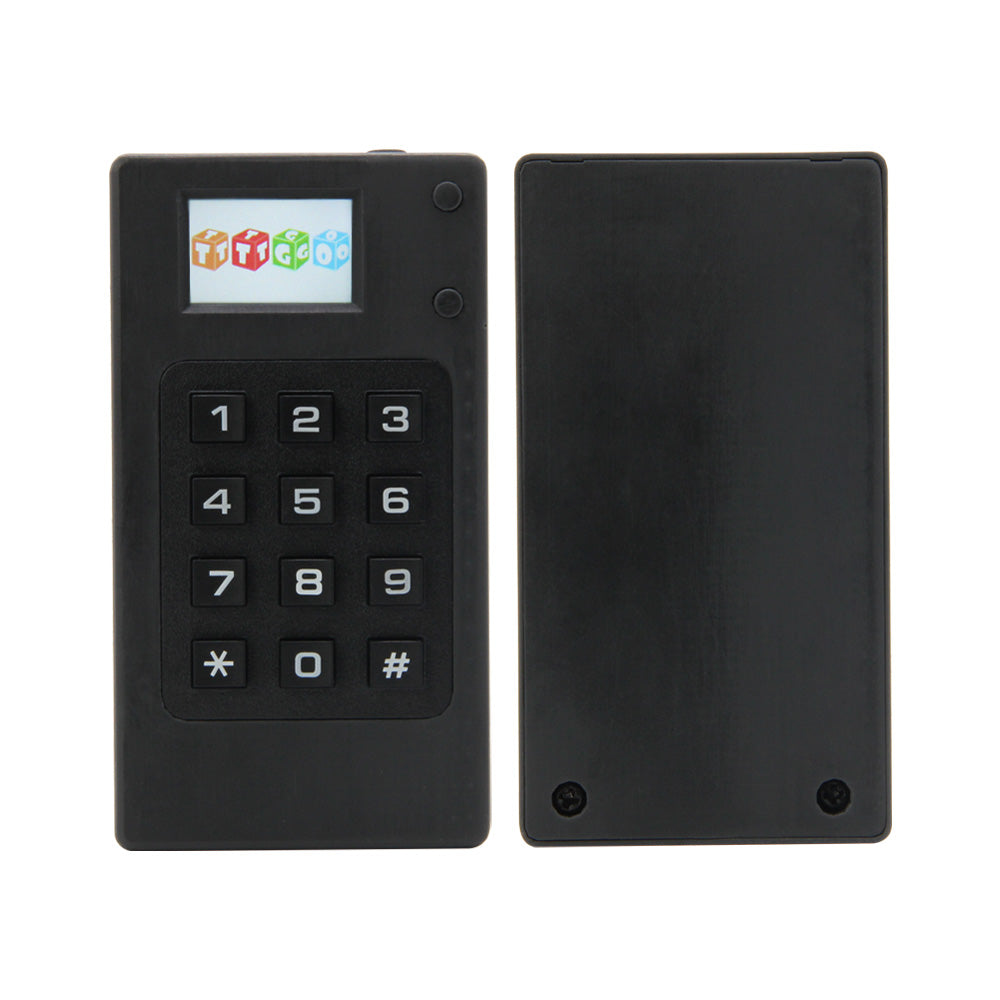
LILYGO T-Display Keyboard
The T-Display Keyboard is a modular keyboard and display system based on ESP32, featuring a 1.14-inch IPS display, a physical QWERTY keyboard module, and optional battery shell for portable use.
$17.67
Hardware Specifications
Connectivity
Components
ESP32 240MHz Xtensa dual-core 32-bit LX6 MCU with 520KB SRAM
IPS LCD display driver for the 1.14-inch display
Resources
Where to Buy
Overview
The LILYGO T-Display Keyboard is a modular development system that pairs an ESP32 microcontroller and 1.14-inch ST7789V IPS LCD display with a compact physical QWERTY keyboard module. It targets portable IoT device development, handheld terminal projects, and any application requiring text input combined with wireless connectivity.
The display measures 1.14 inches with the ST7789V driver supporting standard SPI communication. The ESP32 module runs at 240 MHz with 520KB SRAM and is available in 4MB or 16MB flash variants. USB-C is used for both power and programming, with a JST 2Pin 1.25mm connector for battery connection.
Multiple purchasing options are available: keyboard and display only (K140, $17.67 for 16MB), or shell bundles with a 2800mAh lithium battery (K138, $30.98) for fully portable handheld devices. The keyboard-only module can also be purchased separately (K136, $6.88) if you already own a compatible display board.
Firmware Compatibility
- Arduino IDE: Supported via the Espressif Arduino core for ESP32 (LX6 series).
- ESP-IDF: Native framework with full peripheral access.
- MicroPython: Available via the ESP32 MicroPython firmware.
Flashing Guide
- Connect the T-Display Keyboard to your computer via the USB-C cable (included in display bundles).
- If the port is not detected, hold the RESET button or manually trigger bootloader mode.
- In Arduino IDE, select ESP32 Dev Module and set the Flash Size to match your variant (4MB or 16MB).
- Select the correct COM port and click Upload.
- After flashing, press RESET to boot the new firmware.
- For battery-powered variants, connect the JST 2Pin 1.25mm battery cable before powering off USB.
Related Products
ESP32This product page may contain errors. If you find any, please report them.