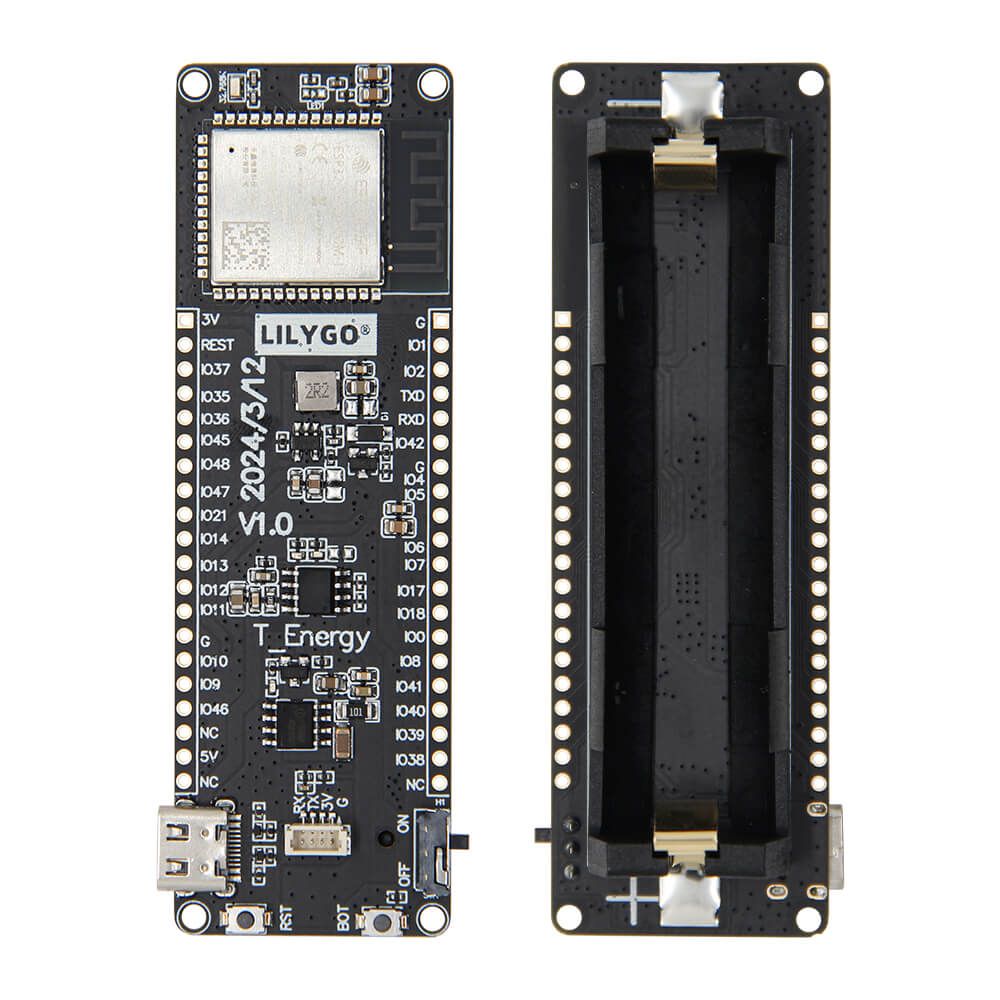
LILYGO T-Energy S3
ESP32-S3 development board with an 18650 lithium battery slot, Qwiic connector, and 16MB flash optimized for low-power wireless IoT applications.
$9.70
Hardware Specifications
Connectivity
Components
Dual-core Xtensa LX7 up to 240MHz with WiFi and Bluetooth 5 LE
Resources
Where to Buy
Overview
The LILYGO T-Energy S3 is a cost-effective ESP32-S3 development board designed specifically for battery-powered applications. Its standout feature is the integrated 18650 lithium battery slot, allowing deployment in remote locations without a constant USB power supply. The board pairs this with 16MB of flash and 8MB of PSRAM, providing ample storage and memory for complex applications.
A Qwiic 4-pin connector enables easy daisy-chaining of I2C sensors and peripherals without soldering, making it beginner-friendly for prototyping. BOOT and Reset buttons are included for easy firmware management. The ESP32-S3 delivers dual-core performance with WiFi and Bluetooth 5 LE, suitable for applications using ESP-NOW, BLE mesh, or standard TCP/IP networking.
The board supports C/C++, MicroPython, and Lua programming languages, and integrates with Arduino IDE, VS Code with the ESP-IDF extension, and the native ESP-IDF framework.
Firmware Compatibility
The T-Energy S3 works with Arduino IDE using the esp32 board package, ESP-IDF for production firmware, and MicroPython for rapid prototyping. The GitHub repository at https://github.com/Xinyuan-LilyGO/T-Energy provides example code for battery monitoring, ESP-NOW communication, and Qwiic sensor integration.
Flashing Guide
- Install the ESP32 board package in Arduino IDE or configure ESP-IDF.
- Connect via USB-C cable to your computer.
- The board should be auto-detected; if not, hold BOOT and press RESET to enter download mode.
- Select ESP32-S3 Dev Module with the appropriate flash/PSRAM settings (16MB flash, 8MB OPI PSRAM).
- Upload firmware via Arduino IDE or use
idf.py flashwith ESP-IDF.
Related Products
ESP32-S3This product page may contain errors. If you find any, please report them.