LILYGO T-Display S3 Pro External
An ESP32-S3 development board with a 2.33-inch touch IPS TFT LCD display (222x480), WiFi, BLE 5, and external antenna support for improved wireless range.
$34.05
Hardware Specifications
Connectivity
Components
Dual-core LX7 microprocessor with 16MB Flash and 8MB PSRAM
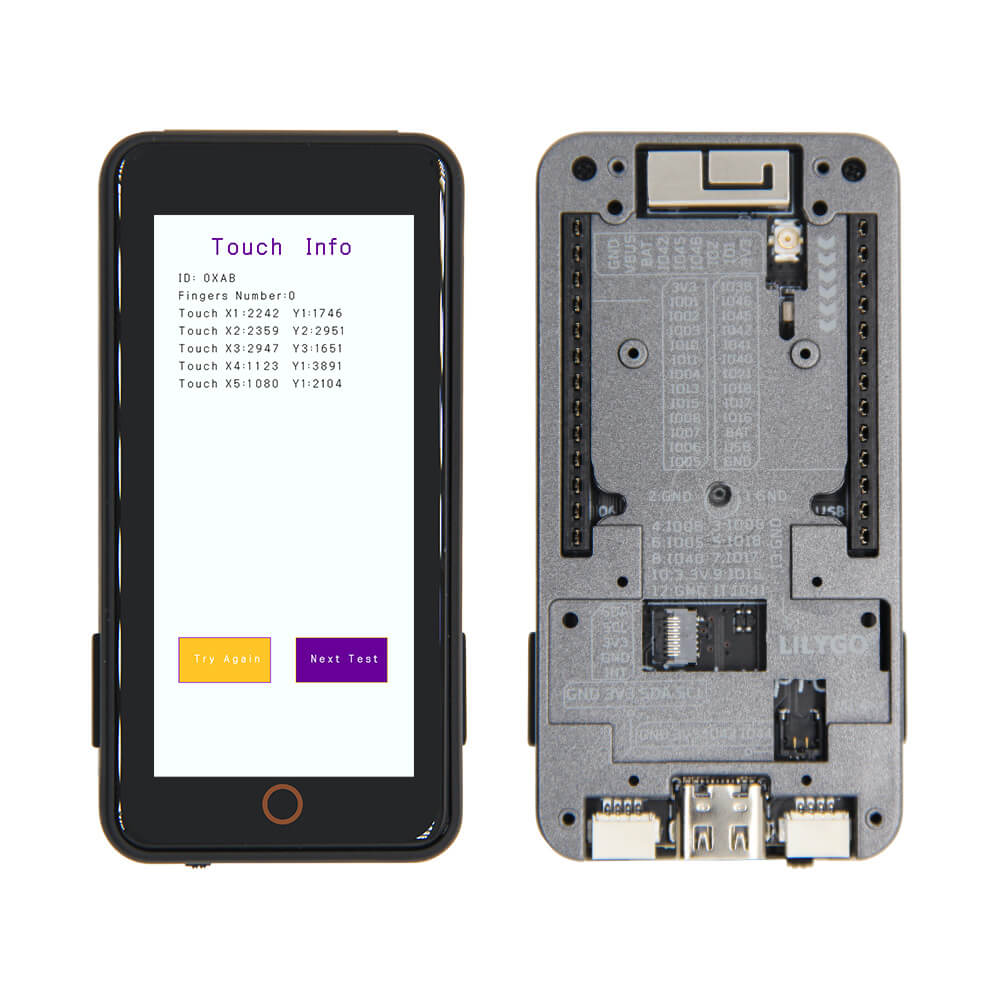
2.33-inch IPS TFT LCD, 222x480 pixels, SPI interface with touch
Where to Buy
Overview
The LILYGO T-Display S3 Pro External is a variant of the T-Display S3 Pro series featuring an external antenna connector for improved WiFi and Bluetooth range compared to the standard version with an onboard PCB antenna. It is built around the ESP32-S3R8 with 16MB of Flash and 8MB of PSRAM.
The board integrates a 2.33-inch ST7796 IPS TFT LCD with a resolution of 222x480 pixels and touch input capability, making it suitable for creating HMI (Human-Machine Interface) applications and small display projects. The touch display enables interactive UI design directly on the development board. Four onboard buttons (Boot, Reset, IO12, IO16) provide hardware control inputs.
With WiFi 802.11 b/g/n, BLE 5 with mesh support, and an external antenna option for extended wireless range, this board is well-suited for connected display applications, smart home controllers, and embedded panel systems. It supports Arduino IDE, MicroPython, and ESP-IDF development environments.
Firmware Compatibility
- Arduino — Use the ESP32 Arduino core with TFT_eSPI or LovyanGFX for display control.
- MicroPython — Supports display via MicroPython display drivers.
- ESP-IDF — Full SDK support for advanced development.
- LVGL — Popular embedded GUI library works well with the ST7796 display.
Flashing Guide
- Install the ESP32 board package in Arduino IDE.
- Connect via USB-C.
- Select ESP32S3 Dev Module as the board.
- Set Flash Size to 16MB and PSRAM to OPI PSRAM (8MB).
- Configure the TFT_eSPI library with the ST7796 driver and correct pin definitions from the LILYGO GitHub repository.
- Upload your sketch. Use BOOT (Boot button) + Reset to force download mode if needed.
Related Products
ESP32-S3This product page may contain errors. If you find any, please report them.