LILYGO T-Display S3 AMOLED Plus
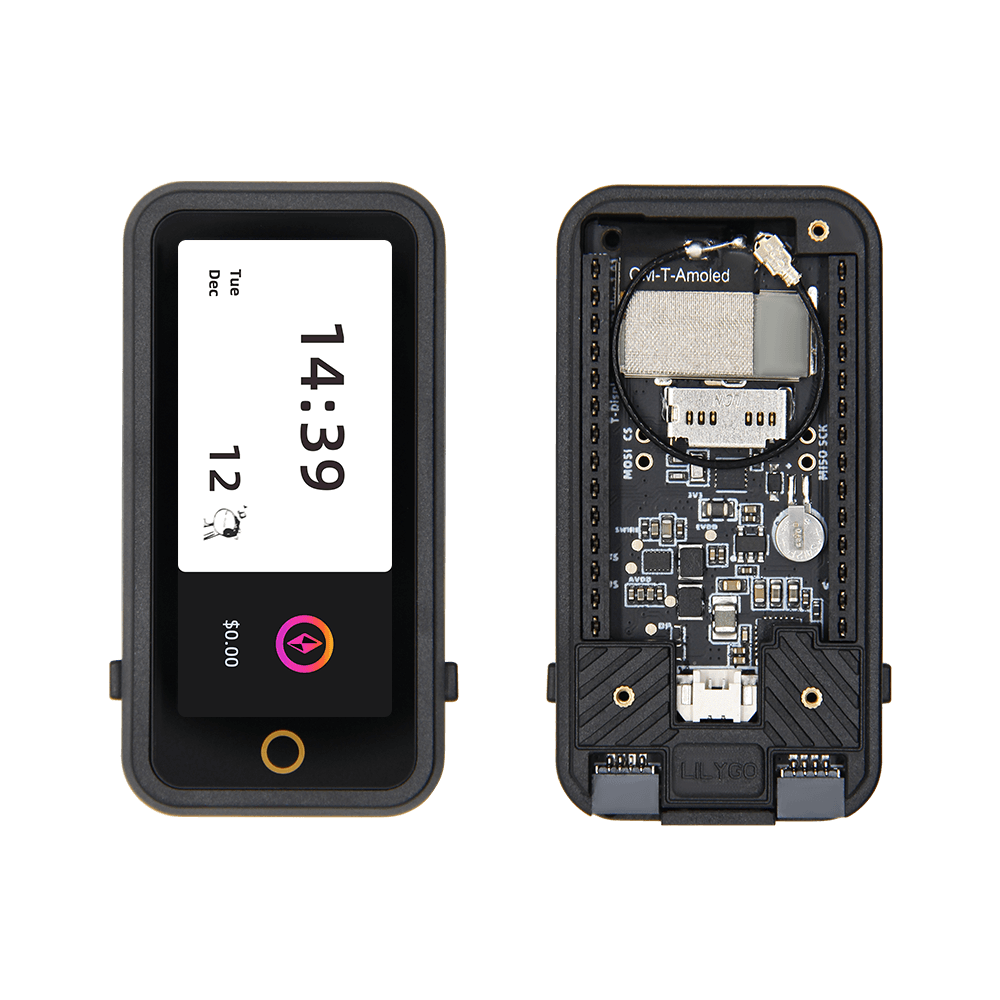
ESP32-S3 development board with a 1.91-inch RM67162 AMOLED display (240×536), capacitive touch, RTC, SD card slot, and external FPC antenna for compact connected display applications.
$32.68
Hardware Specifications
Connectivity
Components
Dual-core Xtensa LX7 up to 240MHz with 16MB flash and 8MB PSRAM
1.91-inch AMOLED display, 240×536 pixels, SPI interface, 19.8×44.2mm active area
Resources
Where to Buy
Overview
The LILYGO T-Display S3 AMOLED Plus is a development board featuring the ESP32-S3R8 paired with a 1.91-inch RM67162 AMOLED display. The display delivers a 240×536 pixel resolution over an SPI interface with a 19.8×44.2mm active area, offering the deep blacks and high contrast ratios characteristic of AMOLED technology in a tall, narrow form factor suitable for watch-face or status bar UIs.
The board includes capacitive touch for interactive applications, an RTC (real-time clock) for timekeeping without network synchronization, a TF/SD card slot for local data storage, and a battery holder for untethered operation. A metal shielding cover reduces RF interference, and an external FPC antenna improves WiFi and Bluetooth range. GPIO female pins provide an expansion interface for additional peripherals.
The T-Display S3 AMOLED Plus is compatible with Arduino, PlatformIO, ESP-IDF, and MicroPython. It is positioned as an upgrade over the standard T-Display S3 AMOLED, offering a taller display with a more portrait-oriented form factor.
Firmware Compatibility
Compatible with Arduino IDE, PlatformIO, ESP-IDF, and MicroPython. LILYGO's GitHub organization provides display driver examples for the RM67162 using LovyanGFX and LVGL. The wiki at wiki.lilygo.cc has additional documentation and pinout information.
Flashing Guide
- Install the ESP32 board package in Arduino IDE 2.x or configure PlatformIO/ESP-IDF.
- Connect via USB-C cable.
- Hold BOOT and press RESET to enter download mode if not auto-detected.
- Select ESP32-S3 Dev Module with 16MB flash and 8MB OPI PSRAM.
- Upload display examples from the LILYGO GitHub repository.
Related Products
ESP32-S3This product page may contain errors. If you find any, please report them.