LilyGO T-Display S3
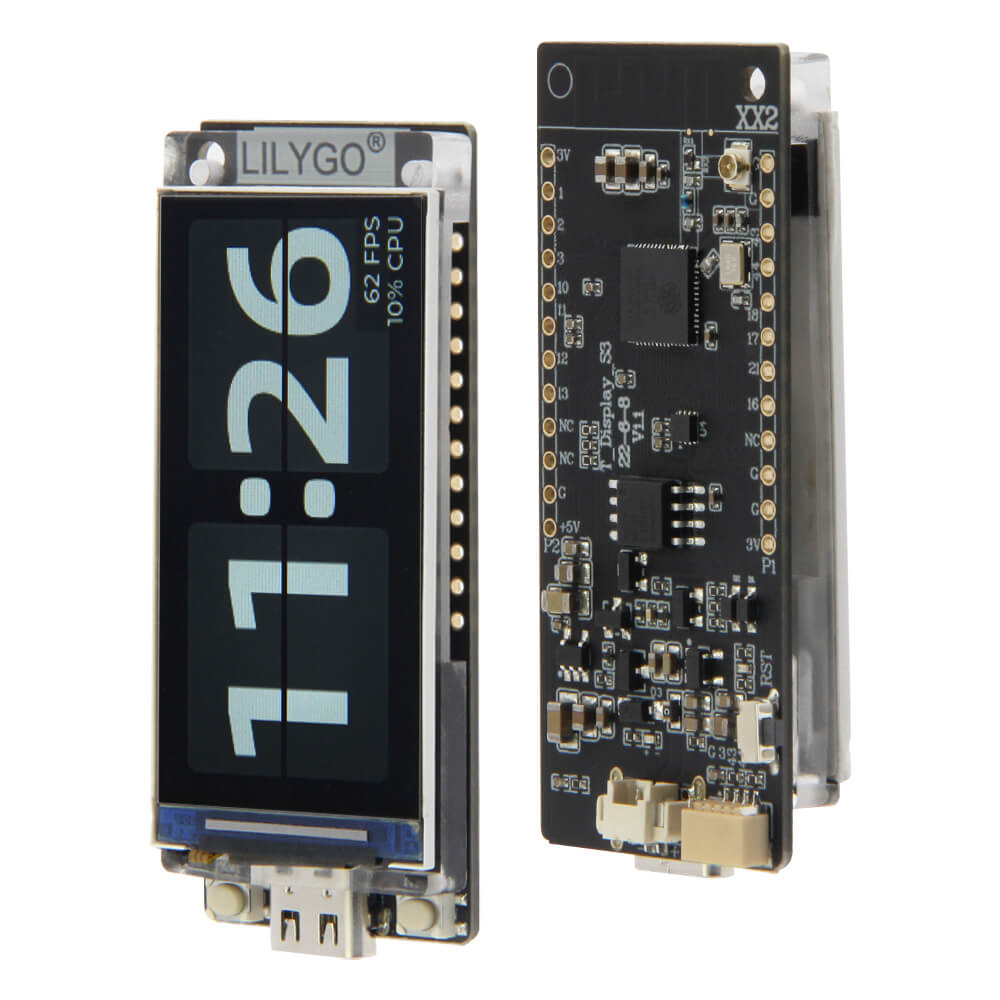
LilyGO T-Display S3 with a built-in 1.9-inch 170x320 ST7789V LCD, ESP32-S3 dual-core processor, USB-C, and LiPo battery connector. Ideal for portable IoT dashboards and wearable displays.
$19.98
Hardware Specifications
Connectivity
Where to Buy
Overview
The LilyGO T-Display S3 is a premium development board that integrates a 1.9-inch IPS TFT display directly onto an ESP32-S3 board. The 170x320 pixel ST7789V display supports 16-bit color (65K colors) and is connected via a dedicated SPI bus, leaving most GPIO pins free for user applications.
The board includes a JST connector for a single-cell LiPo battery with built-in charging via the onboard TP4056/IP5306 charge management circuit, making it genuinely portable. The 8MB PSRAM and 16MB flash provide ample headroom for graphical applications using LVGL, TFT_eSPI, or similar display libraries.
Key features:
- 1.9-inch 170x320 IPS TFT display (ST7789V, 16-bit color)
- ESP32-S3R8 with 8MB PSRAM and 16MB flash
- LiPo battery charging via JST-PH 2.0mm connector
- Two physical buttons plus a power button
- USB-C with native ESP32-S3 USB OTG
- 21 exposed GPIO pins via two side headers
- Operating voltage: 3.3V (onboard LDO)
Firmware Compatibility
- ESPHome: Supported with the
ili9xxxdisplay component (ST7789V driver). Useplatform: ESP32withvariant: ESP32S3. Display shows sensor data, graphs, or custom UI elements. - Arduino: Excellent support via TFT_eSPI library with the T-Display-S3 user setup. LilyGO provides a dedicated Arduino library and numerous example sketches.
- MicroPython: Works with the ESP32-S3 MicroPython port. Use
st7789driver for display access. - ESP-IDF: Full support with LVGL integration for professional GUI development.
Flashing Guide
- Connect the T-Display S3 to your computer via USB-C cable using the port labeled with the USB symbol.
- The board supports automatic download mode — no need to hold buttons in most cases.
- If the board does not enter download mode, hold the left button (BOOT/IO0) while pressing the right button (RST).
- For Arduino IDE, install the ESP32 board package and select "ESP32S3 Dev Module" with PSRAM set to "OPI PSRAM".
- For ESPHome flashing:
esphome run t-display-s3.yaml - For manual esptool flashing:
esptool.py --chip esp32s3 --port /dev/ttyACM0 --baud 921600 write_flash -z 0x0 firmware.bin - The display can be tested immediately using the LilyGO factory firmware, which demonstrates touch, Wi-Fi, and display capabilities.
Related Products
ESP32-S3This product page may contain errors. If you find any, please report them.