LILYGO T-Knob
ESP32-C6 development board with an integrated BLDC gimbal motor, magnetic encoder (MT6701), and TMC6300 motor driver for haptic feedback and smart knob applications.
$37.28
Hardware Specifications
Connectivity
Components
Single-core RISC-V 160MHz with WiFi 6, BLE 5, and 802.15.4
Ultra-small 3-phase motor driver IC for BLDC motors
Magnetic encoder for precise motor position sensing
Resources
Where to Buy
Overview
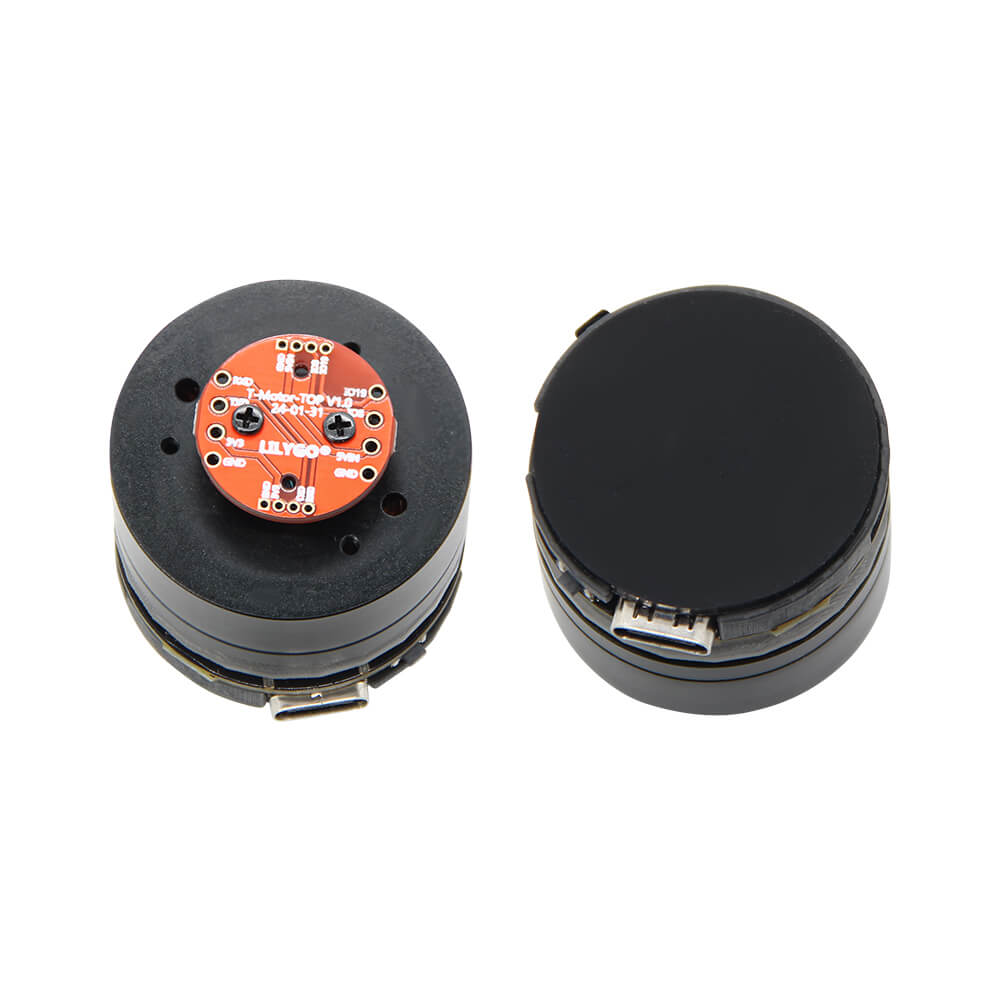
The LILYGO T-Knob is a unique development board combining the ESP32-C6-MINI-1U microcontroller with an integrated BLDC (brushless DC) gimbal motor and MT6701 magnetic encoder. This combination enables the creation of smart knob interfaces with configurable haptic detents, resistance profiles, and positional feedback — similar to the popular DIY smart knob concept but in a ready-to-use commercial form.
The TMC6300 motor driver IC manages the three-phase BLDC motor with support for field-oriented control (FOC) and 6-step commutation via MCPWM. The MT6701 magnetic encoder provides precise angular position data over SPI. Four onboard status LEDs (GPIO 20–23) and a buzzer (GPIO 14) add visual and audio feedback capabilities.
The ESP32-C6 brings WiFi 6, Bluetooth 5 LE, and 802.15.4 (Zigbee/Thread) connectivity, enabling the T-Knob to act as a smart home controller, remote dial, or wireless volume knob. The GitHub repository provides eight firmware examples ranging from basic motor drive to closed-loop PID position control.
Firmware Compatibility
The T-Knob is compatible with Arduino IDE (v2.2.1+) using the ESP32 board package and with ESP-IDF. The repository at https://github.com/Xinyuan-LilyGO/T-Knob includes factory firmware and multiple example programs demonstrating different motor control modes.
Flashing Guide
- Install the ESP32 board package in Arduino IDE 2.x with esp32 core support.
- Connect via USB-C cable.
- Hold the BOOT button (GPIO 9) and press RESET to enter download mode if auto-detection fails.
- Select ESP32C6 Dev Module in the board manager.
- Flash the desired firmware example from the repository or upload your own sketch.
Related Products
ESP32-C6This product page may contain errors. If you find any, please report them.