Tutorialintermediate
OZ1BXM ADX-S Build Guide — 7-Band Arduino Digimode Transceiver
Detailed build blog by Lars Petersen OZ1BXM documenting the assembly of a 7-band CRKits ADX-S transceiver kit, with practical tips on LPF module assembly, inductor placement, and operating with WSJT-X or FT8CN on Android.
Boards:atmega328p
Firmware:arduino
Use Cases:Amateur Radio
Overview
Lars Petersen (OZ1BXM) documented his build of the 7-band ADX-S transceiver kit from CRKits in a detailed blog post. The guide covers assembly challenges, technical details, and practical operating tips for ham radio operators looking to build their own digital mode QRP station.
Build Details
- Kit Source: 7-band kit from crkits.com
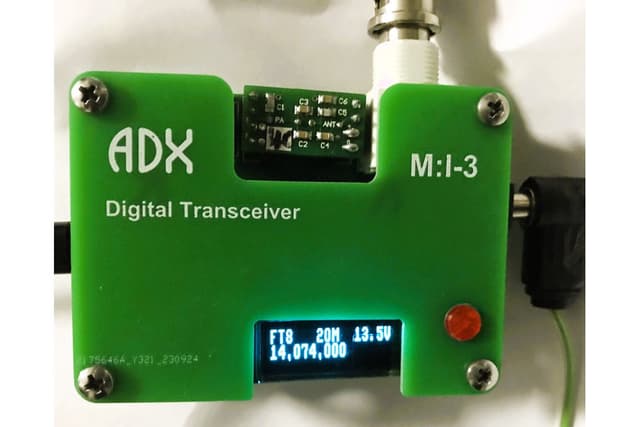
- Physical Design: Three 9.7cm x 9.7cm circuit boards sandwiched together using threaded spacers (an innovative enclosure solution)
- Complexity: Medium difficulty — closely-spaced solder pads require care, but all components are through-hole
- Output Power: 2-3 watts RF depending on band selection
Key Lessons Learned
- Critical: Swapping inductor positions L1 and L3 on low-pass filter boards eliminates transmit output entirely — double-check placement before soldering
- Band-specific filter modules are interchangeable, allowing multi-band operation by swapping modules
- The Arduino Nano and Si5351 modules come pre-assembled with SMD components
Technical Architecture
- Receiver: CD2003 IC with 455 kHz superheterodyne IF and ceramic filtering
- Transmitter: Direct frequency generation via Si5351 feeding parallel MOSFET amplification
- Control: Arduino Nano microcontroller
Software Options
- Primary: WSJT-X (free, cross-platform) for FT8, FT4, and WSPR
- Mobile Alternative: FT8CN Android app for field operation without a laptop
Supported Bands
7-band configuration covering 40m, 30m, 20m, 17m, 15m, 12m, and 10m.