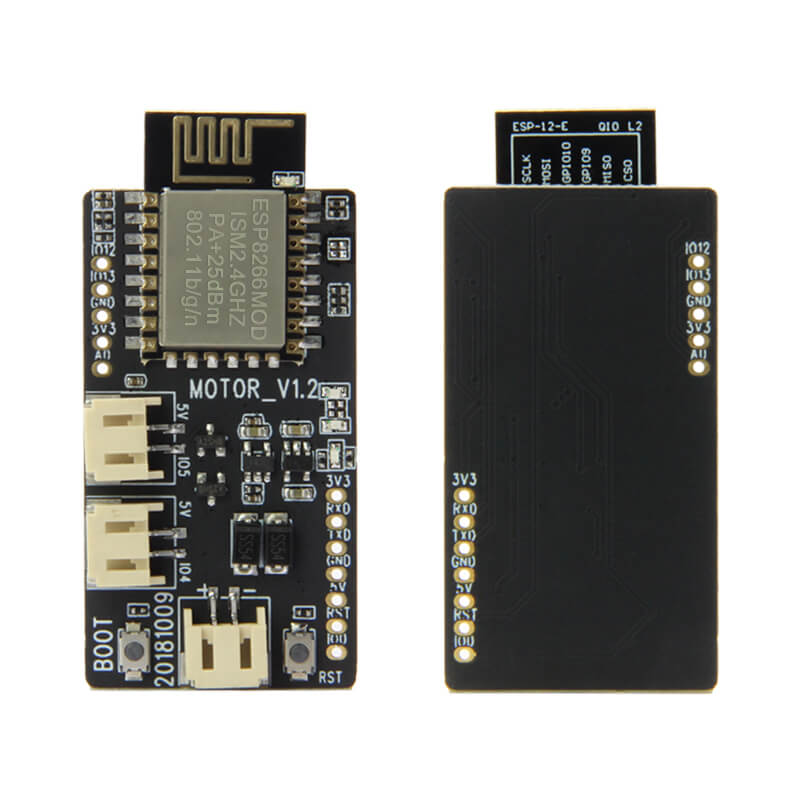
LILYGO T-Thruster
ESP8266-based wireless motor controller board for DIY micro aircraft, featuring dual 7x20mm magnetic motors at 45,000 RPM and 55mm propellers for remote-controlled flying experiments.
$6.75
Hardware Specifications
Connectivity
Components
Single-core Tensilica L106 at 80/160 MHz with integrated Wi-Fi
Resources
Where to Buy
Overview
The LILYGO T-Thruster is a lightweight ESP8266 development board purpose-built for DIY micro aircraft and remotely controlled flying experiments. It includes two magnetic high-torque 7x20 mm motors capable of reaching 45,000 RPM at 3.7V and 55mm A+B counter-rotating propellers to produce balanced thrust.
Control is achieved wirelessly via the ESP8266's Wi-Fi module, which can host a web server or receive UDP commands from a smartphone or custom controller application. Power is supplied via a PH 2.0mm 2-pin connector for a 3.7V LiPo battery, and three connection lines are included for motor and board wiring.
The board is aimed at makers, students, and engineers interested in exploring micro UAV propulsion, wireless motor control, and embedded flight systems. The GitHub repository provides starting firmware for motor control and Wi-Fi communication.
Firmware Compatibility
The T-Thruster is compatible with the Arduino IDE using the ESP8266 board package. The ESP8266 RTOS SDK can be used for more complex real-time motor control. Example code in the TTGO-T-thruster GitHub repository demonstrates motor PWM control and Wi-Fi-based command reception.
Flashing Guide
- Connect an external USB-to-serial programmer to the T-Thruster's programming pins.
- Pull GPIO0 to GND during power-on to enter download mode.
- In Arduino IDE, select "Generic ESP8266 Module."
- Set Flash Size to 4 MB and Upload Speed to 115200 or 921600.
- Select the correct COM port and click Upload.
- Disconnect GPIO0 from GND and reset the board to run the firmware.
Related Products
ESP8266This product page may contain errors. If you find any, please report them.